 Making your own compost is a great way to help keep your garden and houseplants healthy and vibrant, while also benefiting local ecosystems and saving you money. Using sustainable and nutrient-rich compost is less expensive than synthetic fertilizer and helps to prevent methane-producing materials from ending up in landfills. Although the concept of putting a heap of rotting material in your yard sounds smelly and undesirable, when done properly, your compost should emit little to no odor.
How to Make Your Own Compost:
You’ll need a few simple things to get started, including a container and some ingredients. After a few months of simple maintenance, your compost should be nutrient-rich and ready to use.
 Step 1: Set The Foundation
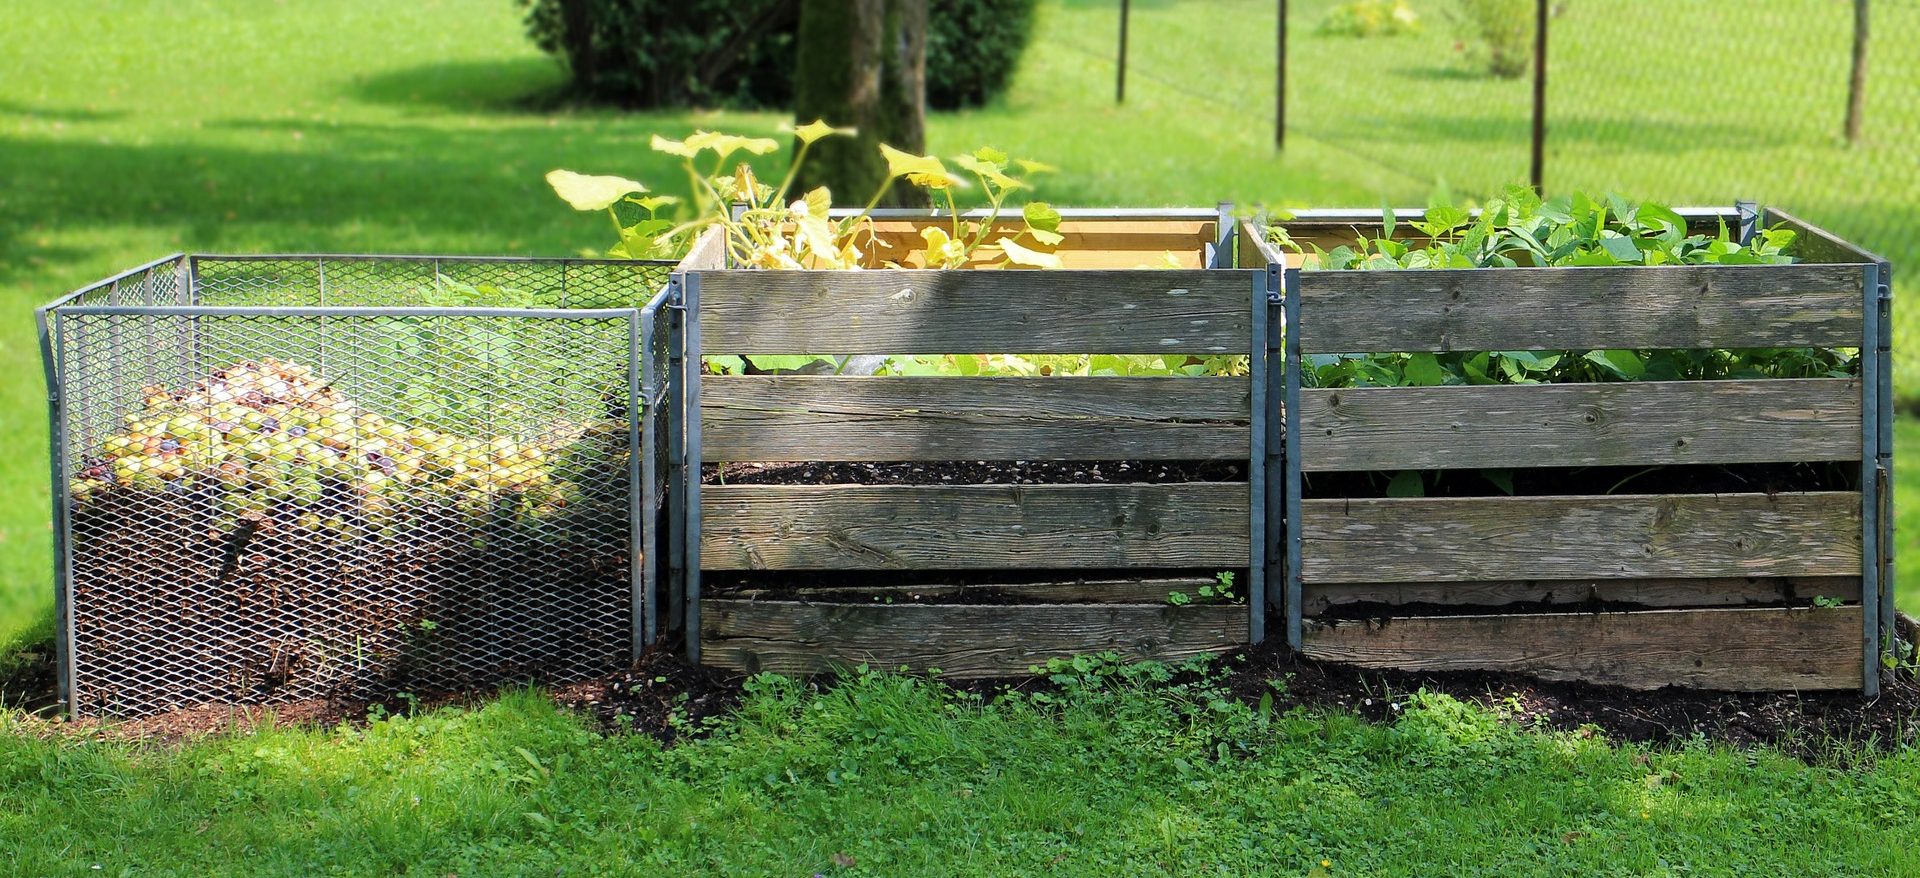
The first step is to set aside a place for your compost. Some people set aside a 3 ft by 3 ft area in their yard for a compost pile, while others collect their compost in a bin, container, or drum. Using a container will greatly speed up the composting process. The microorganisms that will break down your compost need oxygen, heat, and moisture to effectively break down the organic materials. Therefore, having a drum or container that can easily be rotated to evenly distribute sunlight exposure is ideal. Wire or wood containers also work well, as long as they are placed in as much direct sunlight as possible.
Step 2: Feeding your compost
The next step is to add a mix of green and brown materials to your compost pile. Green materials include food and produce waste, grass clippings, and old houseplants. Examples of brown materials are old newspapers, wood chips, and dry leaves. The recommended ratio for your compost should be 2-3 parts brown for every 1 part green. Make sure you loosely stack and alternate the green and brown materials to maintain a proper moisture balance. Alternating green and brown also lets air flow through the compost, which the microorganisms need to survive.
 Step 3: Keep it alive
All you need to do now is perform basic maintenance to keep your compost heap healthy. Remember to regularly add more material to the pile and try to rotate it. During the summer, use a pitchfork to turn your compost over once every week or two. In the winter, simply turn over the pile once a month. Suggested compostable materials include fruits and vegetable, uncoated cardboard, coffee grounds, hair and fur, nut shells, tea bags, eggshells, newspaper, houseplants, sawdust, hay and straw, and untreated lawn clippings. Remember to avoid composting the following: any dairy products, oils, fats, grease, lard, coal, black walnuts, pet droppings, and charcoal.
When is it ready?
Once your compost is set up, all you need to do is wait for it to rot. Occasionally grab a handful of your compost to check on its composition. It should feel slightly damp, like a wrung-out sponge. If it feels too dry, add some water, but be careful! Adding too much water to your compost can quickly make the mixture slimy. To get bins for rental know that they serve all of Cedar Park.
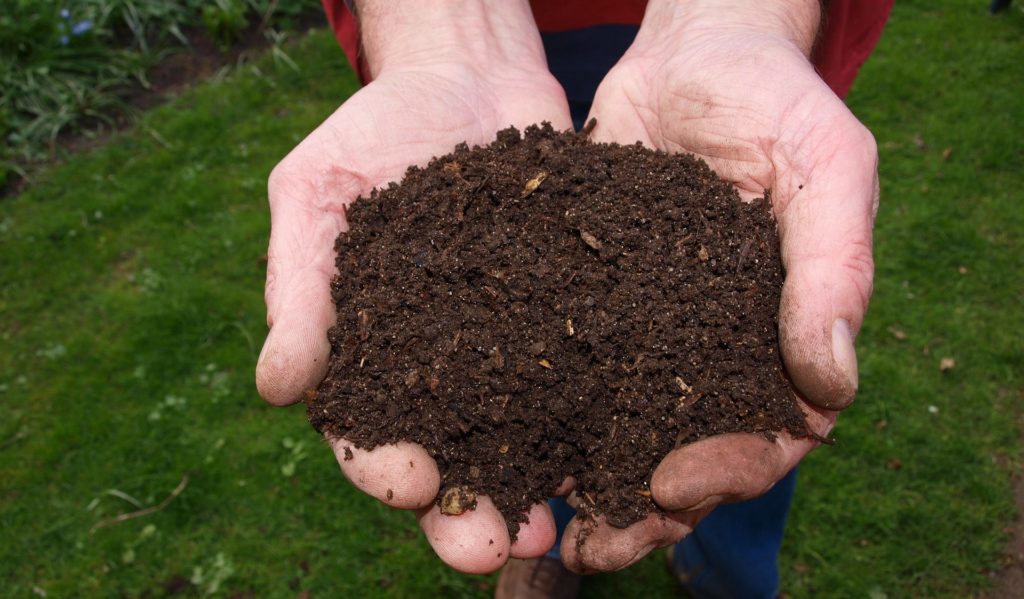
Your compost is ready to use when the mixture looks like dark, crumbly soil. You shouldn’t be able to recognize individual pieces of the compost, and it should smell like fresh and earthy soil. Simply spread your compost throughout your garden on top of your soil. Over time, water will carry your compost’s nutrients through the soil to your plants. Looking for some more information about how to compost? Planet Natural Research Center offers some good tips and tricks.
Contributed by: Andrew Pence, Roanoke Parks and Recreation Communications Intern
